CMDB
The Configuration Management Database (CMDB) is used for administrating configuration items (CIs) and their zones.
Chapters:
Structure of the CMDB
When accessing the CMDB stage, the following window is displayed:
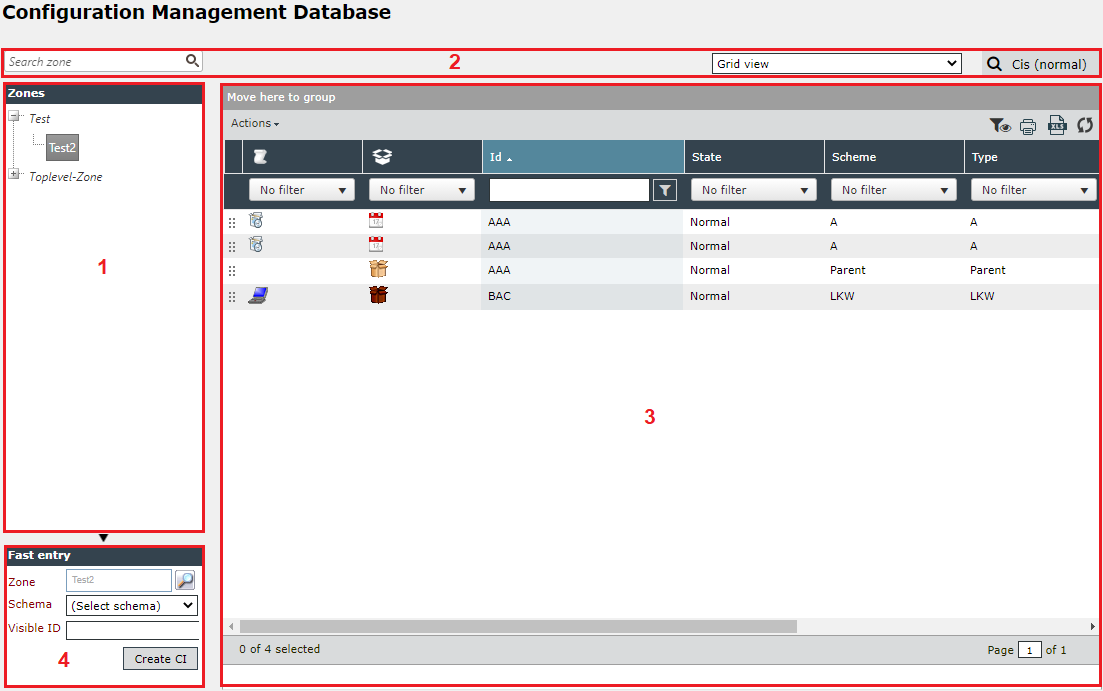
[1] Zone tree, [2] Search, views and filters, [3] CI-Overview and column filters, [4] Fast entry
On the left side, the Zone-tree [1] is shown, where all of the zones (logical and physical ones) are displayed. If CIs are contained, their amount is displayed in brackets behind the physical zones. Via the context menu, it is possible to add, edit and delete zones and to create new CIs.
Right next to the zone-tree the Search, views and filters [2] settings are located. If it has already been filtered for CIs, those filter settings can also be saved as favorite. The single filter option can be seen in the chapter Search and Filter.
Tip:
A LIKE search can be performed in the input field for the zone filter (SearchString%). The text is found at any position (at the beginning, in the middle or at the end) of the search result. 
It is possible to select from different view settings:
- Grid view: Displays all CIs of the current zone on the same level in a table. Connections to other CIs are not displayed in this view.
- Grid view (with contained CIs): All of the CIs of the current zone and the CIs contained by them are displayed in a table.
- Grid view (with sub zones): Displays all CIs of the current zone and all of its sub-zones in a table. Contained CIs are displayed in a separate column here as well. CIs that are connected to other CIs in this zone are not displayed.
- Grid view (with contained CIs and sub zones): Displays all CIs and additionally the CIs contained by others and those contained by sub-zones.
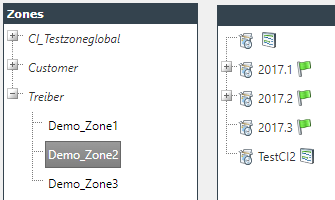
- Tree view: Displays all CIs starting from the current zone in a tree view. If a CI contains other CIs, they are displayed as child elements in the expandable tree view structure. Additionally, the CIs are displayed as child elements, which are not located in the zone but linked to a parent CI in the current zone, in the tree view. In the top level of the hierarchy all CIs, which do not have parent elements or whose parent element is not located in the same zone, are displayed. If the configuration key has been set accordingly (see also Table: Configuration Settings - Client), then there will be a status symbol of the configuration items shown in this view:
Below, the CI overview [3] is located, where CIs are displayed by the grid views mentioned above. By double-clicking a CI, the CI dialog is opened. The bar at the bottom of the dialog allows for displaying the CIs sorted by the selected initial letter.
In the grid header, column filters are available that allow the user to perform a search within the view. All filtered columns are AND-linked and use the existing data provider for the search.

On the right is a button (
) that shows and hides the filter line. Another button to delete all filters appears (
) to the left if the user has set several column filters. The visibility of the filter row is stored in the user settings.
Furthermore, the last view used and the last zone selected can be saved in the user profile. For more information, see the User settings.
Further information about the column filterThe column filters are available for the following views:
CI Detail Dialog - Relations tab
CI Detail Dialog - Tickets tab
Ticket Detail Dialog - CMDB tab
CI Stage - All CI grid views
If a column has a filter, the minimum width of the column is set to at least 120 pixels. The user-defined width of the column and the width set in the data view is overwritten.
Depending on the column contents, the input control of the filter can be different.
Simple text filter:
The filter controls a text input. Next to it a filter icon appears, with which the user can choose between different search operators (Equals, Not equals, Starts with, ...).
If a filter is applied, the filter icon turns blue and another filter delete icon appears.
If the user selects a search operator (blue filter symbol), each change of the filter text or pressing the Enter key leads to a new search.
Drop-down list filter:
If the user selects an element from the drop-down list, a new search is performed with the value of the element.
If a filter is applied, a Clear filter button appears next to the drop-down list.
Date time filter:
A date time control is rendered as input control and next to it a drop-down list of operators, which search should be performed (Greater than, Less than).
If a filter is applied, a Clear filter button is rendered next to the date time picker.
The user can press enter to in the input control to start a new search (only if an search operator is already selected).
User browser / Zone browser:
User browser and zone browser controls are rendered as filter control.
If the user selects a user or a zone, a equals-search will be performed.
When a filter is applied, the Clear filter button appears next to the control.

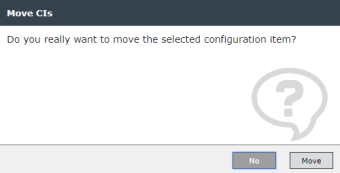
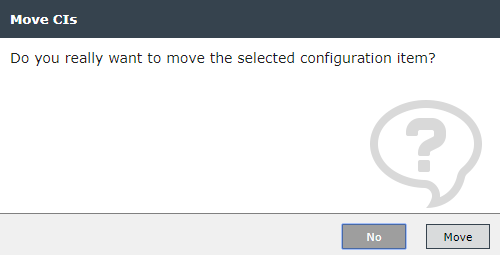
When moving the mouse over the left column of the table (points) a hand appears, whereupon a CI can be moved directly into another zone by drag and drop. The dialog has to be confirmed with Move.
Note:
This action can only be performed with administrator rights. The behavior for moving connected CIs is defined by the used relation type. There is no confirmation dialog that asks if the connected CIs shall be moved as well.
Bottom left the Fast entry [4] is located, where CIs can be created quickly by specifying the zone, the schema, and the designated visible ID. By clicking on the Create CI button, a CI is created and can be edited later on.
The filter directly above the CI overview can be used for finding CIs with a specific content quickly. For information on the filter options, see Search and Filter.
Note:
Filtering is only possible in the table views.


 Copyright (c) 2000-2026 Isonet AG