User
The logged in user
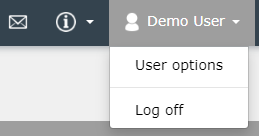
The logged in user is displayed in the upper right area with his/her user name. When you are hovering over the mouse, the user's personal menu opens. This contains the menu items for the user options and for the log off of the currently logged in user.
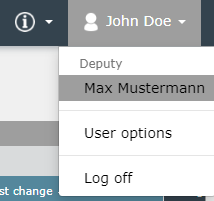
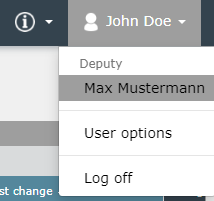
The configured deputies are also displayed there. By clicking on one of the deputy positions, the logged in user enters the deputy mode and is registered as the user who has selected it.
A description of the various ticket roles is given in the Ticket section.
User Options
On the left side of the dialog there are several tabs leading to different settings modifications.
- User profile
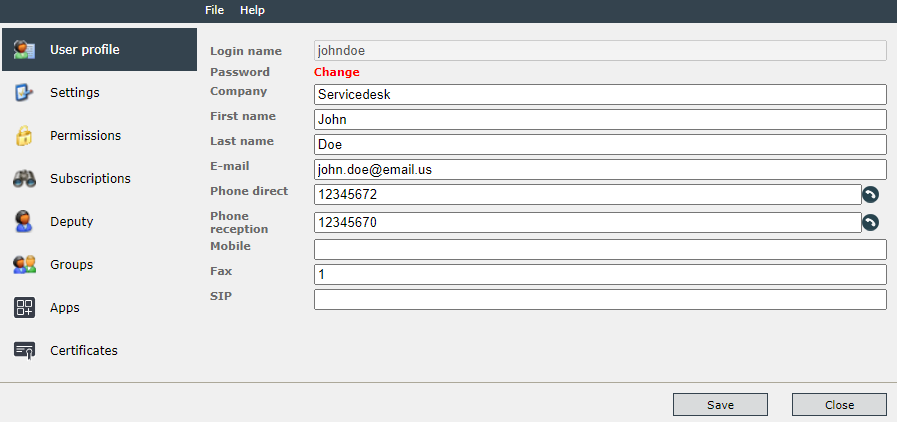
The User profile tab provides general information about the logged in user, e.g. the login name and password for authentication, name, e-mail address and phone number.
Note:
Imported users are not authorized to change the password. The link to change the password is hidden.

- Settings
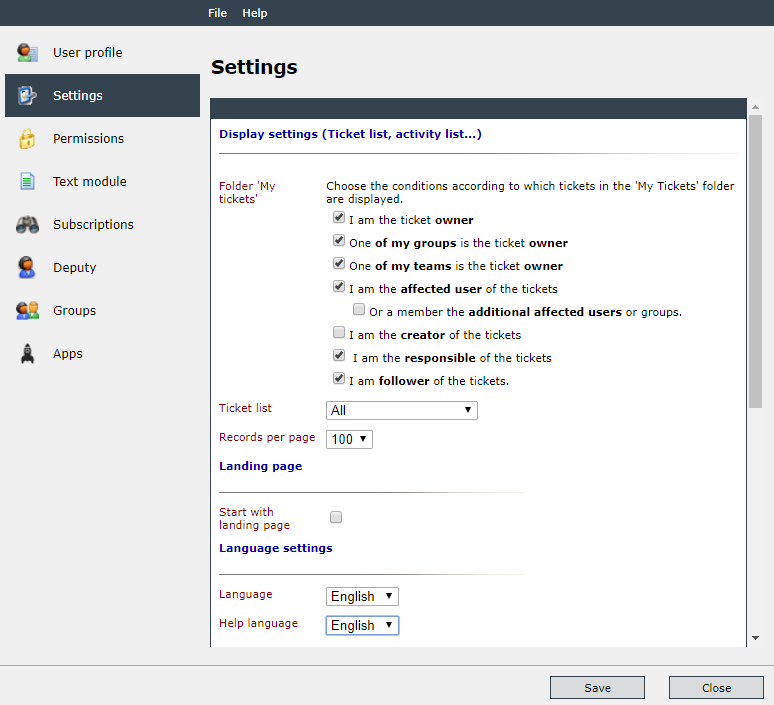
In the Settings tab the user can modify several options for the appearance.
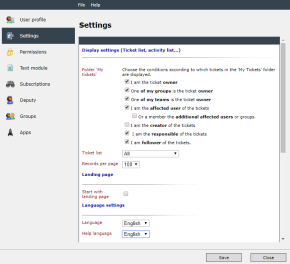
Under Folder 'My tickets' the user can set conditions for displaying the tickets in the ticket list.
Note: The first and second options
I am the ticket owner
One of my groups is the ticket owner
If only the second option One of my groups is the ticket owner is activated, only tickets for which no owner is set are displayed. To view all tickets in my possession, both options should be selected.
Tip:
The tickets of the current user are also accessible with the shortcut Ticket in navigation bar in the main window.
In the field Ticketlist the user can determine what ticket types are to be displayed in the ticket list. All shows containers as well as tickets in these containers. Only container shows only tickets that are part of a container. These tickets can only be opened from within the container. The option Only container tickets displays container tickets in the list only.
The selected value in the field Records per page defines how many activities (tickets, tasks or KB articles) are to be displayed in the activities list.
With the option Start with landing page, the landing page is always displayed when starting the program.
Under Home screen, you can select which menu item from the main navigation should be displayed first. The activity list is always displayed first by default. You can select any menu item for which you have permission (including system-specific menu items). If permission for a selected item changes later, the default (Activities) applies again until a new selection is made in the user profile.
Under Language settings the user can define the language used in the system and for the integrated help. Thereby, it is not necessary for the both field to have identical value. After saving the changes it is useful to press F5 in order to reload the page for the new language settings to be applied.
Under Refresh interval the interval until the next page refresh is defined.
Under Time zone settings the user can set the personal time zone. The date values that are used for tickets, tasks, KB articles etc., adapt automatically to the current time zone.
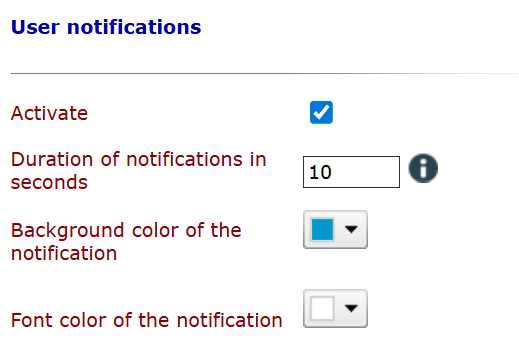
The User notifications section allows you to activate notifications and configure various display settings.
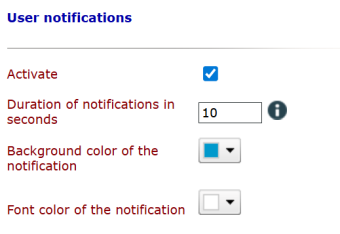
Activate: Enables or disables notifications.
Duration of notifications in seconds: Here, you can specify how long the notification will be visible before it is hidden automatically. If you enter 0, notifications will not be hidden automatically, and users must hide them manually.
Background color of the notification: Here you can select the color for the background of the notification.
Font color of the notification: Here you can select the font for the notification.
Under Cis, you can preset the view with which the CMDB should be loaded by default.
CI view: Here, you can select the initial CMDB view. The same options that can be selected in the CMDB itself (to the right, above the view) are available here. There is also an option called Last used. If selected, the last view selected will be saved to the user profile and used when the CMDB is accessed.
If the user has never selected and saved a setting, the default is the view from the configuration key Isonet.TxpEnterprise.CMDB.Stage.ViewType (see ViewType).Show last used zone: If this option is enabled, the CMDB always starts with the last selected zone.
- Permissions
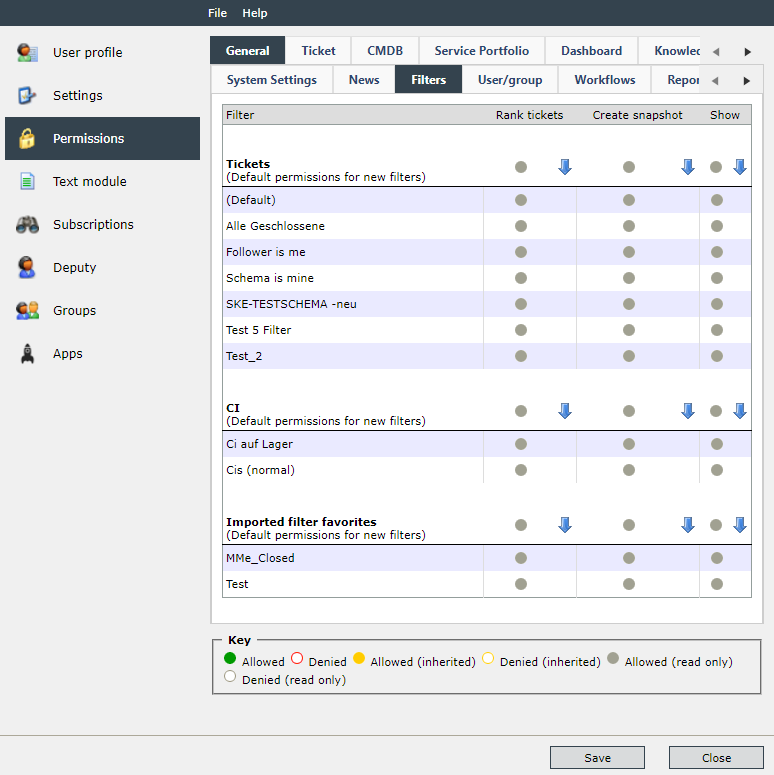
The Permissions tab informs the current user about the rights he has regarding. The user permissions cannot be modified.
- Text module
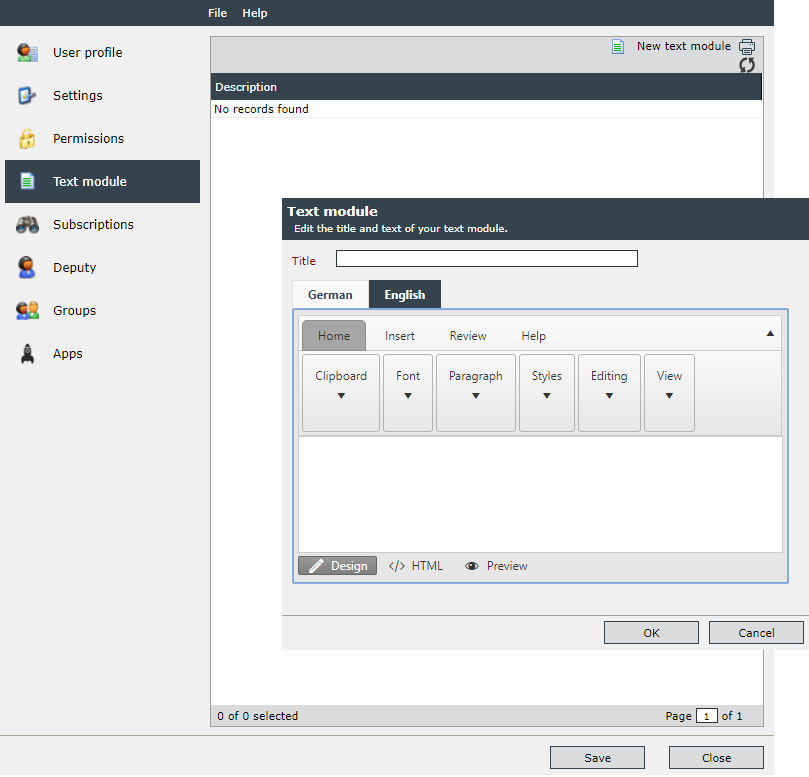
In the Text module tab, it is possible to create individual text modules for the currently logged in user. Text modules can be automatically integrated into messages or other functions with the help of expressions.
You can also manually insert text blocks in the HTML editor (e.g., in email actions, the ticket solution, or when creating tickets). This option is available under the Insert section of the HTML editor.
- Subscriptions
Subscriptions shows all early warning rules the user is subscribed to. Early warning rules are used for sending messages to users if certain situations arise. If, for example, a certain amount of tickets is surpassed, an early warning rule is triggered and several users are informed about the issue by e-mail.
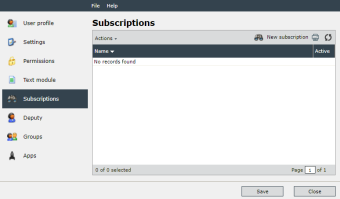
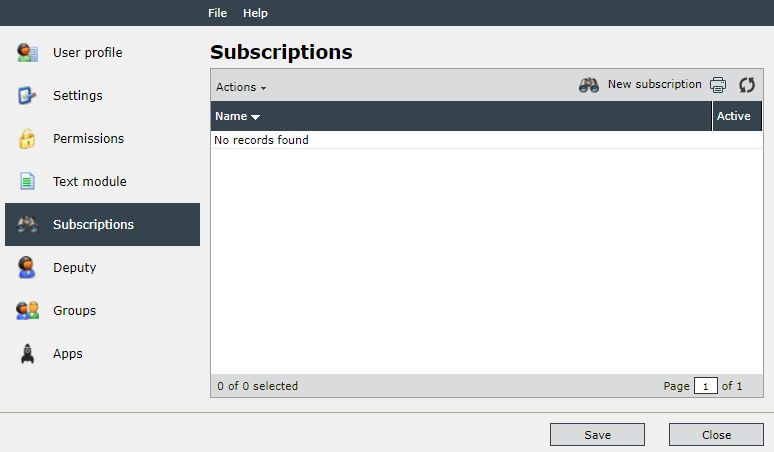
In this tab all subscriptions are listed. It is possible to add new subscriptions or to delete subscriptions.
By clicking New subscription the dialog for subscriptions is opened. In the Subscriptions tab the settings for early warning rules can be modified.
In the Name field a significant name is to be entered for the early warning rule.
In order to activate the early warning rule, the rule has to be set to Active. The early warning rule can be deactivated for a certain time period (e.g. because of absences).
The option Add to additional affected users is used for automatically setting the current user as another affected user of the ticket that triggers the early warning rule.
In the Rule field an early warning rule is selected.
By clicking Save, the subscription is established. The Fields and Messages tab are available.
The Fields tab shows ticket fields that are defined in the early warning rule. As an early warning rule is a template, all values can be set individually. If all field values have been set, they are saved by clicking Save. By selecting Reset, the rule can be reset to its initial values on a later occasion.
The News tab shows all messages that were sent after the early warning rule has been triggered.
All values are saved by selecting the Save button.
- Deputy
The Deputy function is used to define a deputy for the current user for covering an absence without assigning a ticket to another user.
Short instruction
Note:
The deputy for a deactivated user is not possible.
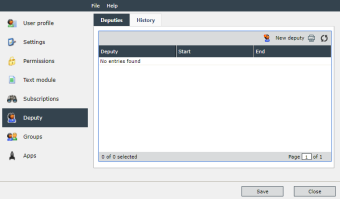
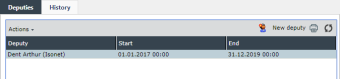
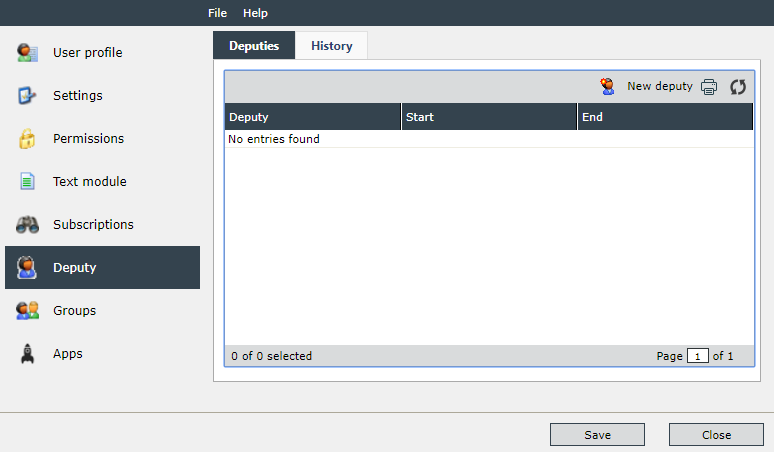
In this tab, the deputies for the user can be configured. It is possible to define several deputies to be active at the same time.
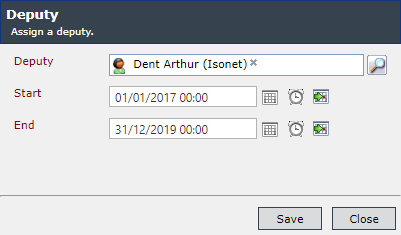
By clicking New deputy a new deputy is created.
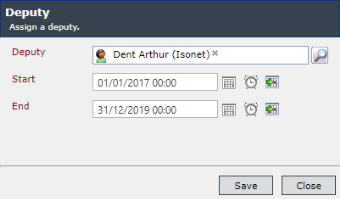
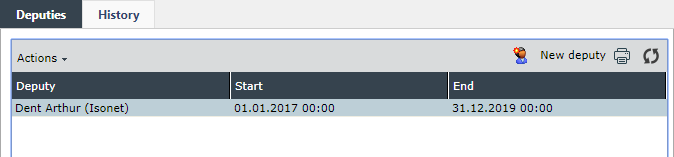
The figure above shows that the selected user represents the deputy of the logged in user from 01/01/2017 00:00 am to 31/12/2019 00:00 am. By clicking the Save button the deputy user is created and appears in the list.
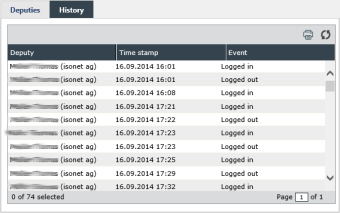
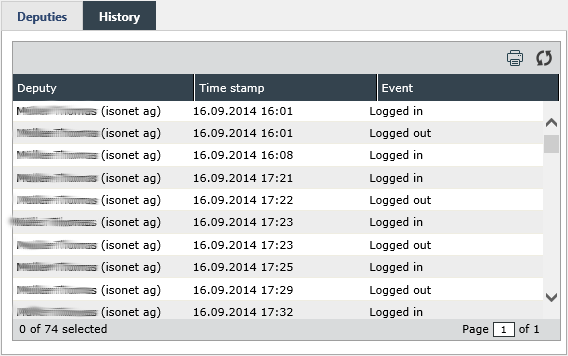
In the History tab the event log can be found where the user can retrace all logins of the user’s deputy.
If a user has been defined as a substitute, the user can change to the substitute function via his user menu.
Subsequently, the user menu is displayed in a different color, which indicates that the user now acts as a substitute.
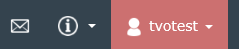
The system now behaves as if the deputized user was logged in. The user will now see all of the deputized user’s activities and acquires all of his rights.
Switching back to the original user and turning of the deputy function is effected by moving the mouse over the User area and selecting the original user. By clicking Login, the background of this area will switch to the original color.
- Groups
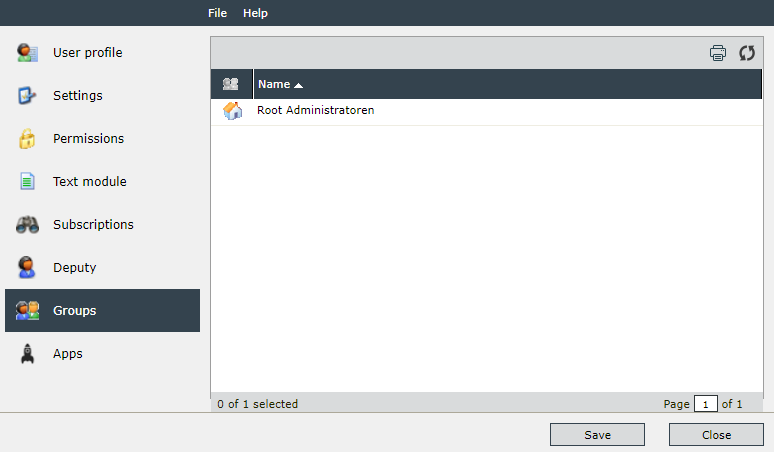
The Groups tab provides an overview about the direct membership of the current user in various groups. Further groups, however, the own groups are for example member in will not be displayed here. By double-clicking a detailed overview of the respective group can be accessed.
- Apps
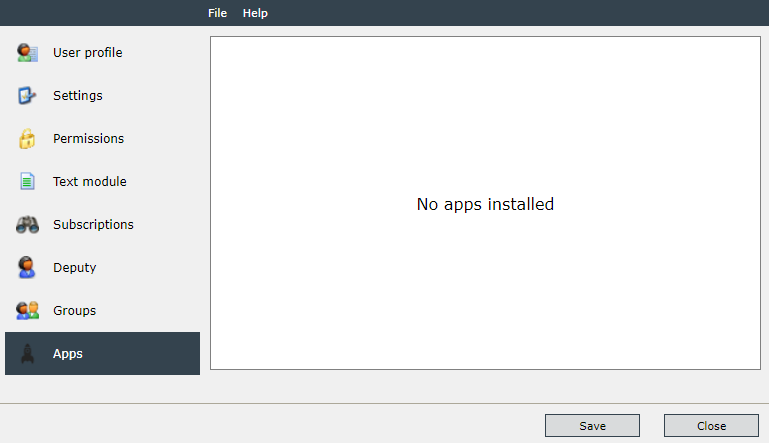
The Groups tab provides an overview about the direct membership of the current user in various groups. Further groups, however, the own groups are for example member in will not be displayed here. By double-clicking a detailed overview of the respective group can be accessed.
- MFA Devices
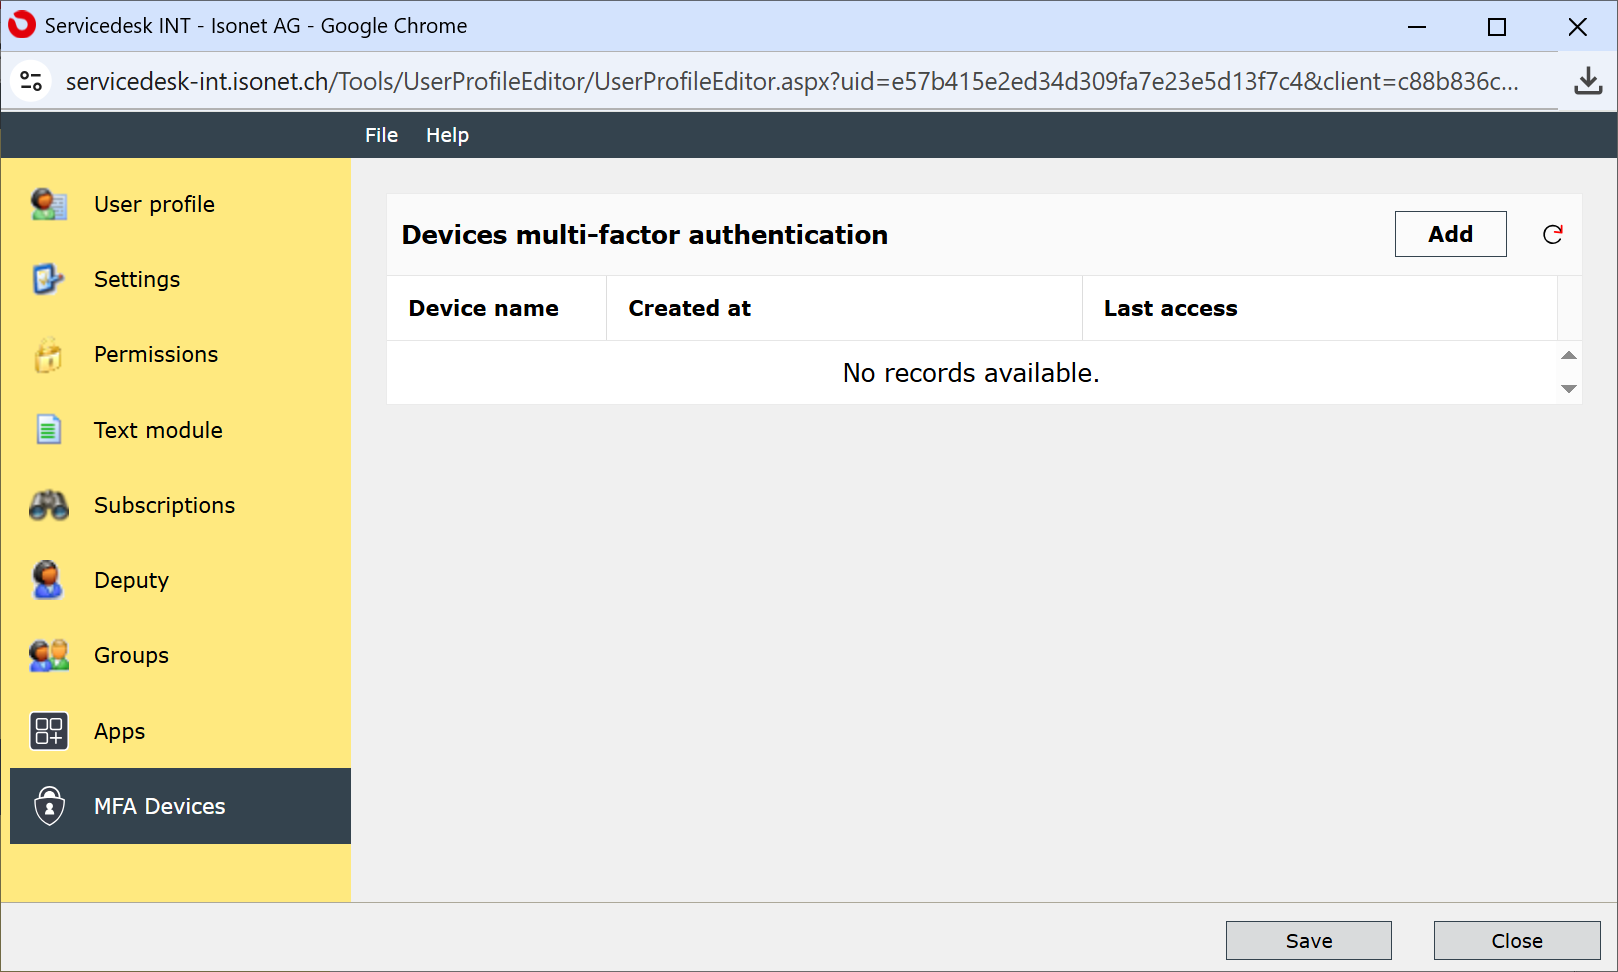
Users can register devices for multi-factor authentication here. Once a device has been registered, two-factor authentication is enabled, and an additional factor must be provided during login in order to log in successfully.
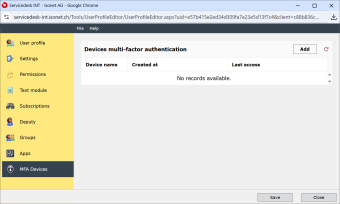
To register a new device, click Add. You will then need to authenticate yourself again.
Link to the 446 Plattform Mobil
In the user menu, you will also find a link to switch to the mobile version of the 446 Plattform. The requirements for this are:
-
the license for the 446 Mobile platform must be active
-
the “PlatformSwitchingLink” configuration key must be set to True (see PlatformSwitchingLink)
-
the domain must be registered in the database (see Configuration of the ClientConfiguration table)
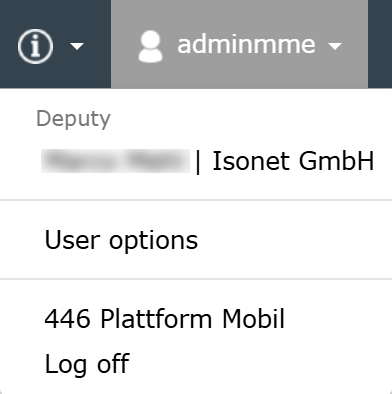
When the link is clicked, a new browser tab or window opens, displaying the 446 Plattform Mobil.


 Copyright (c) 2000-2026 Isonet AG