Configuration Items (CIs)
Create and manage
After having created the zone hierarchy, CIs can now be created via the respective wizard. In the context menu of the zone tree, with the fast entry and in the context menu of the tree view new configuration items can be created.
Short instruction
Tip:
Relations between CIs can be created by using drag and drop. For this purpose, it is necessary to click on a CI in the tree view and to move it on another CI. Cross page drag and drop of objects can be done with the mouse wheel or the arrow keys.
If a new CI is created via the context menu in the tree view or in the zone tree, a new window is opened to select the zone and schema. Furthermore, it is possible to enter a visible ID. By clicking OK the CI is created.
Tip:
CIs may contain the special characters "<", ">" and "=".
Afterwards, the CI overview is displayed that contains the following tabs (if a CI is created by using the fast entry, it is only created with this information entered in the fast entry and needs to be opened manually):
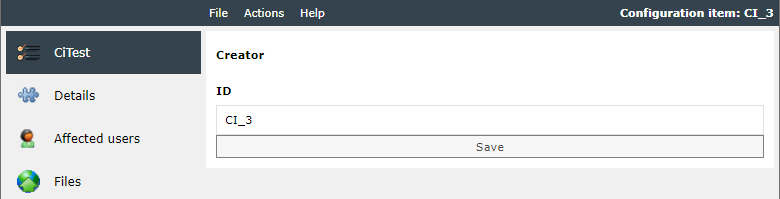
- Form (name of the schema): The tab page displays the configured form in the CI schema. The name of the tab page is the localized name of the form.

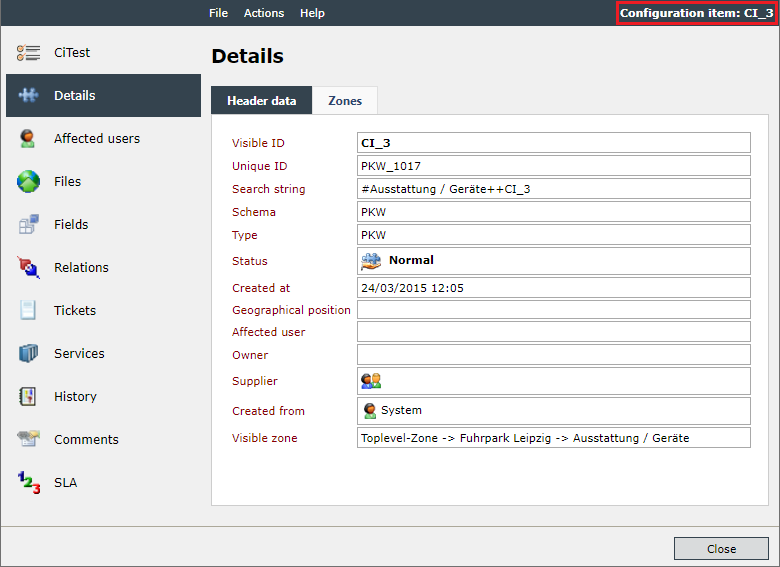
- Details: Contains several header data of the CI, the creation date, the visible ID, the creator and other information. The Zones tab allows furthermore for managing the affiliation of a CI to the different zones and for editing the visible zone via the Actions menu.
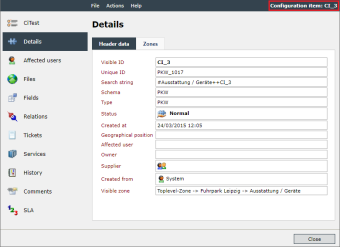
The CI details can be copied to the clipboard with a mouse click in the upper right corner. The user receives a response in the form of a message that appears briefly in the lower right corner. The text to be copied can be defined in the CI schema (Sharp-Expressions are supported).
- Affected users: Contains user and groups affected of the CI (e.g. the user using Computer 5). New users can be added via the New user/group button if the appropriate action has been configured for the CI schema. Via the actions menu, users can be deleted or set as the new standard as well.
- Files: Allows for displaying file attachments for the respective CI. Deleting and uploading files is only possible if this action has been configured for the respective CI schema.
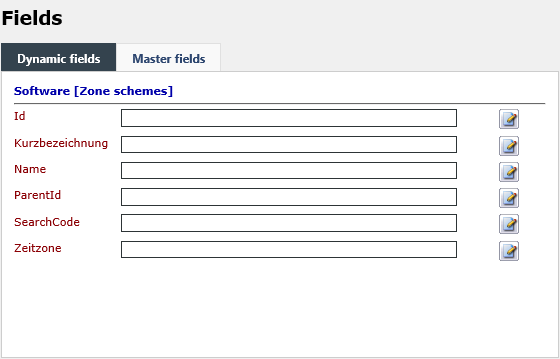
- Fields: The master and dynamic fields are composed of the current schemas fields as well as the fields of all superordinate schemas. The master fields, however, are read-only. The dynamic fields can be edited and adjusted here. For this purpose it is necessary to click on the Button Edit under the dynamic fields. During this process, all dynamic fields can be edited simultaneously. By clicking the button Save field value all entries are saved.
- Relations: In this tab all contained and connected CIs are displayed and can be opened by double-click. At the same time, possible variants and copies of the CIs are displayed.
- Tickets: Displays all created tickets that are linked to a CI or that contain a reference to the CI (e.g. if the CI has been added to the ticket by a ticket action).
- Services: This tab is only displayed if the Service Portfolio is activated and it displays all linked services of the Service Portfolio. Additionally, it is possible to add a new service via the Actions menu, to mark the CI as a service CI when adding a service or to remove the connection to services.
- History: Contains a chronological log of all CI changes.
- Comments: Contains comments for CIs. If the action has been configured, new comments can be added as well.
- SLA: If the CI is connected with a Service Level Agreement, it is displayed here. It is also possible to add new SLAs. If, for example, a ticket has been created and linked to the CI, its SLA is used to calculate response times.
Note:
In the master database, the default tab that is displayed in the CI details dialog after opening can be set.
Visible ID and Unique ID
For every CI, there are two types of identification available: The visible ID and the unique ID. If no information is entered during CI creation, the unique ID is generated from the configuration settings in the CI schema and the visible ID is set to the unique ID. It is possible to enter any text for the visible ID; it does not have to be distinct. It is furthermore possible to enter an arbitrary text for the unique ID as well. During the creation process of the CI the system checks whether the unique ID is distinct over the whole CMDB. If it is not, an error message will be displayed.
Alternatively, it is possible to disambiguate additionally the visible ID by database configuration.
Moving CIs and CI Relations
CIs can be moved between different zones. If a CI is moved from one zone to another, all relations to other CIs (parent, child etc.) are sustained. No relations are deleted, but linked CIs are not moved as well, which means that a CI can be related to CIs of other zones. When manually moving CIs, it is necessary to check whether the relations are still up-to-date.
Following CIs
The 446 Plattform allows users to follow a CI and receive notifications about changes (e.g., status changes, etc.). This enables users to track the status and progress of a CI and locate CIs with which they have no direct association.
Another advantage is that all monitored CIs are clearly displayed in the CI list, eliminating the need to open them individually, which can be cumbersome.
A CI follower receives an email for each step performed on a CI, provided that the follower has also been selected as an email recipient.
If a user has permission to follow CIs, a new entry called Follow CI will appear in the Actions menu (see Permissions - CMDB). In addition, an eye icon appears to the left of the CI's name in the menu bar.
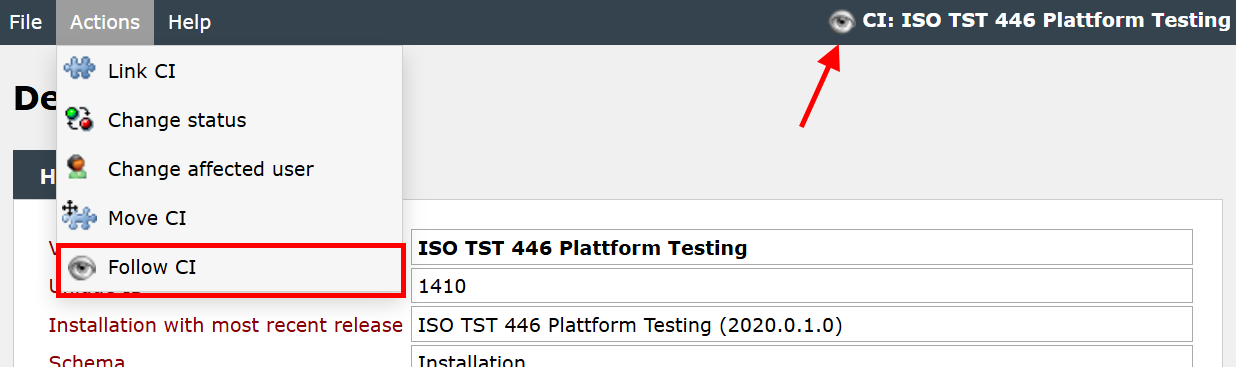
The CI is followed when the user clicks the eye icon or selects the menu item. To stop following, click the eye icon again or select the Unfollow the CI option from the menu. A history entry is written for each of these actions.
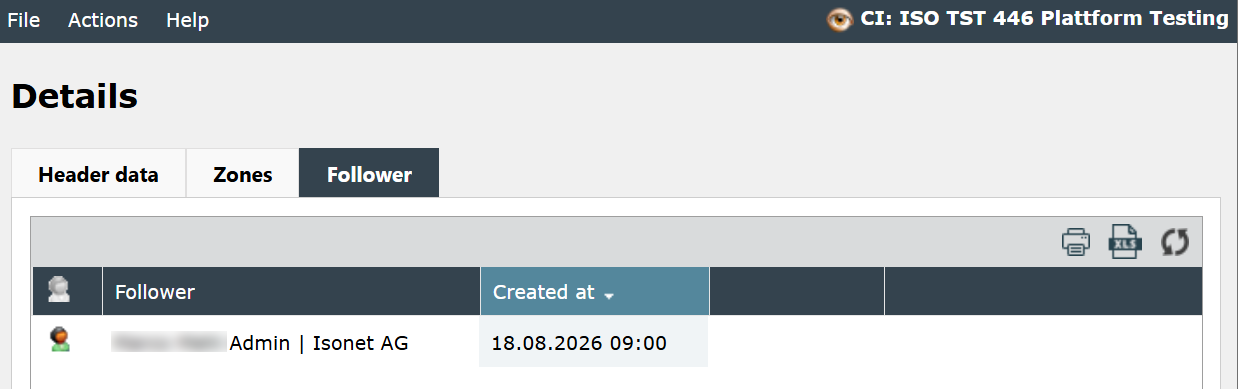
Another tab appears on the Details page of the CI that displays the observers.
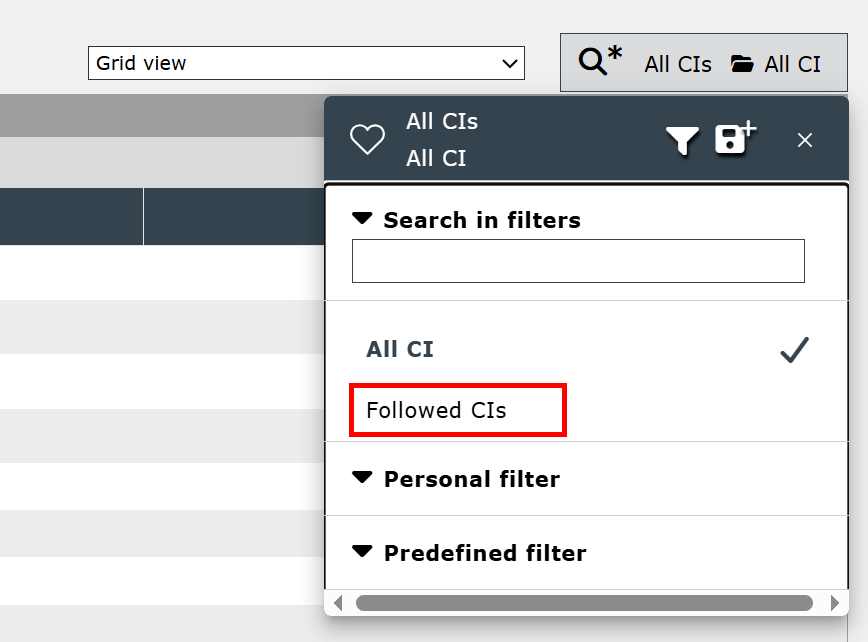
In the CI list filter, you can select the Followed CIs option directly. This will display only the CIs that the current user is watching.
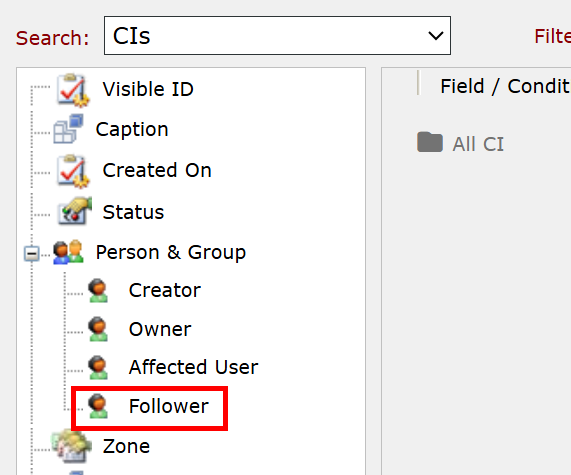
The advanced search offers a static filter for the followed CIs. Select Follower as the search criterion, and then enter a username in the search field.


 Copyright (c) 2000-2026 Isonet AG