Ticket Wizard
A click on New ticket starts the ticket wizard, which will guide the user through the creation of a new ticket. Depending on the ticket schema used for a ticket, the ticket wizard can look differently.
In the following, a simple standard wizard will be illustrated. The wizards can be configured freely, so it may happen that the wizards on a user’s system look differently and include other or more fields.
After a click on New ticket, the selection dialog for the ticket schema will appear.

Here, it is necessary to select the affected user and the corresponding group. Under Affected group, all of the selected user’s groups will be listed. The designated ticket schema is selected and confirmed by a click on Next. Under Previously created tickets, all of the logged in user’s tickets will be displayed.

-
This is a simple text field. Texts with all available characters can be entered here.
-
A selection field is used in order to enable the user to choose from different presettings.
-
A red exclamation mark next to a field marks a mandatory field. This field must be filled in or a valid value selected before you can go to the next page of the ticket wizard.
-
The blue question mark next to the field means that additional information on this field is available. The cursor has to be hovered over this icon and the additional information will be displayed.
- At the bottom of the dialog, three buttons, which allow for navigating through the wizard or closing it, are displayed. After a click on Cancel, no ticket will be created, even if all of the necessary fields have been filled in.
Tip:
It is possible to enter HTML code in various text fields. This code will be interpreted in order to display text bold or in italics (<i></i> or <b></b>). If the HTML code in such a field is not to be interpreted, you can use code tags. Text entered between <code> and </code> will be displayed in the Courier font to be set apart from the rest of the text. In the process, the HTML code will not be interpreted.
Note:
See also String Conversions of Sharp-Expressions.
After selection of a entry in a selection box, additional fields can be faded in, with which one can specify the selection more precisely.

After having filled in the fields as desired or expected by the system, a click on Next opens a second page in the wizard, on which the user can make further specifications on his problem and upload related files. If there are more pages in the wizard than can be displayed in the wizard dialog, can be navigated with the two arrow buttons that appear.

As soon as the last page of the ticket wizard has been confirmed with the Next button, a summary will appear. It displays the most important data of the ticket and can allow for a change of the priority.

The conclusion has to be configured explicitly, though. On most systems, however, it has been disabled due to time and clarity (see also Configure conclusion).
A click on Create forwards the ticket to the proper group in the helpdesk system.
If the Isonet.TxpEnterprise.EnableTicketCreatorGroup key is enabled in the system settings, an additional dropdown menu will appear in the ticket wizard where you can select the creator group (see EnableTicketCreatorGroup).
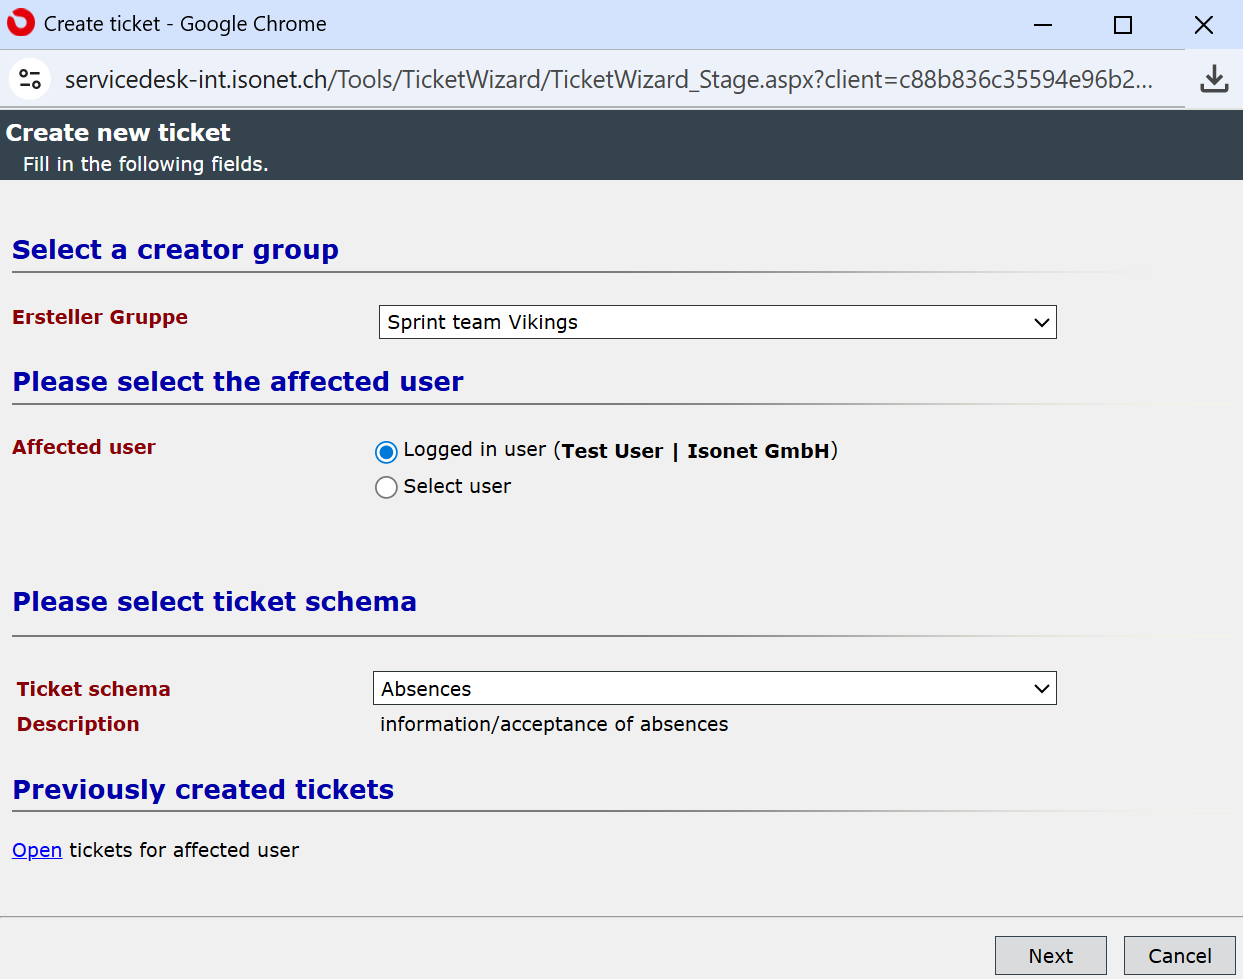
The creator group selection is displayed only if the current user is a member of more than one group that has permission to create tickets. If this is not the case, the selection is hidden.
If the creator group is changed, the ticket wizard is reloaded. This is done to apply the permissions that now apply to that group.
Fast Ticket Entry
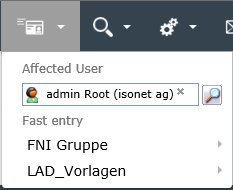
With the fast ticket entry, predefined tickets can be created quickly. The templates are called up from the menu bar with the button Ticket templates.
Tip:
The fast ticket entry can only be used, if the respective ticket templates have been created and at least one of these templates has the status Active.
The fast entry contains two menu items:
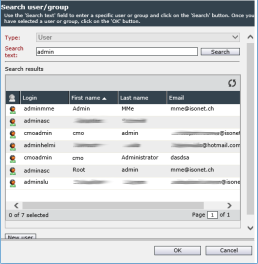
- In the upper user browser, the user is selected, which becomes the affected user in the ticket.
Note:
The user browser will only be displayed, if the executing user has the right to select another user besides himself.


- A grouped listing of the ticket templates appears at the bottom. The appropriate ticket template can be selected from this.
Tip:
For the user to be able to see a template, he has to have the right Show on the ticket template and the template has to have the status Active.
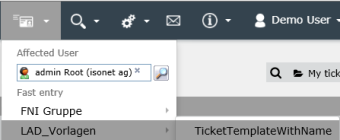

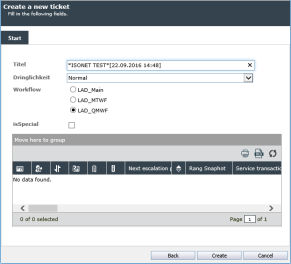
If both of the fields have been filled in, the button Create will start the ticket wizard. Depending on the template, various ticket fields will be prefilled there.


 Copyright (c) 2000-2026 Isonet AG