Tickets
By clicking Tickets one can access the ticket list that displays all tickets created for the current user independently from ticket status, ticket type, ticket schema, creator etc.

The figure above shows an example of the ticket list configuration. Thus, the columns and icons displayed may be different from the delivered version of the application as they can be configured individually.
Please contact your system administrator if you are not sure about the meaning of columns on your system.
Tip:
Tickets that are only related to the current user via an activity are not displayed in the ticket list. These tickets are accessible via the navigation bar and the activities list.
Ticket List
The ticket list shows all the tickets the logged in user has at least the right View on, irrespective of status, ticket type, creator, etc. In this list, only tickets are displayed. Double-clicking the ticket in the ticket list opens the ticket.
Moreover, the ticket list can be filtered for defined criteria in order to show only a subset of all available tickets. Example: The user can filter for all closed tickets and thus limit the number of relevant tickets. The user-defined filters can be saved and used as favorites.
The Actions menu on the upper left allows you to create a ticket container that contains multiple tickets. You can also use this menu to delete a ticket or assign it to an existing container. Furthermore, tickets can be marked for ranking and can be selected for follow-up (or no longer for follow-up). 
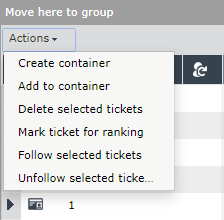
Container Ticket
Containers are used for to pooling several similar tickets in order to execute actions on a container for all included tickets at a time. A container is always created for all tickets selected in the ticket list (by means of [CTRL] and clicking on the respective tickets). If tickets are in a container, they are not listed individually in the user’s activity list but are displayed as one single container. They are nonetheless visible in the ticket list.
Tickets can only be pooled in a container if they have been generated with the same ticket schema. This restriction exists as each ticket schema may emerge from another workflow that causes tickets to pass through different workflows.
A container includes a title, a description, an own escalation time and a solution that is consistent for all container tickets.
The escalation time of the container is derived from the contained ticket that escalates next which ensures that Service Level Management agreements are observed within the container.
Several actions, like adding comments and deadlines, booking expenses and managing files, can be executed for a container as well as individually for the included tickets. Comments generated in the container can be created for all tickets with the option Create for all tickets in container.
The action Create container needs to be configured in the activated schema for the user order to create containers for tickets.
Ticket Ranking
The ticket ranking can be used for quantifying tickets individually. If there are several tickets with the same priority, the ranking can be used for additional prioritization for the user or for groups without interfering with the current ticket prioritization.
Note:
For the ticket ranking to be available, it has to be configured for the respective ticket schema (ticket action Mark ticket for ranking) and the user has to be authorized for this. A predefined filter favorite (Settings > Ticket Management > Ticket Filter Management) is required for the ranking as well.
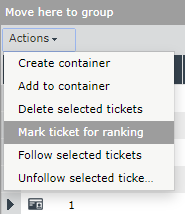
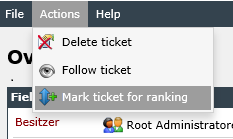
Marking tickets for ranking can be effected in the Actions menu of the ticket list and in the Action menu of the ticket itself.
Note:
Successor tickets automatically obtain the ticket rank they have been created from.
If the desired tickets have been marked for ranking, the actual ranking can be started. In the filter selection above the ticket list, the ranking filter can be selected by clicking on the double arrow icon. The ranking is only possible with predefined filters.
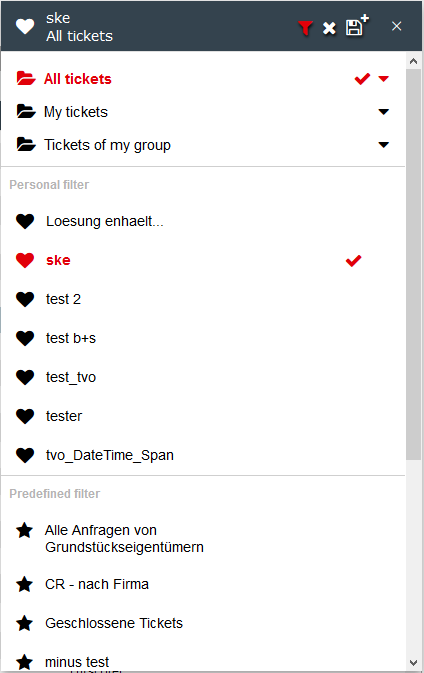
After choosing the filter for ticket ranking the menu for ticket ranking is displayed on the right side of the ticket list.
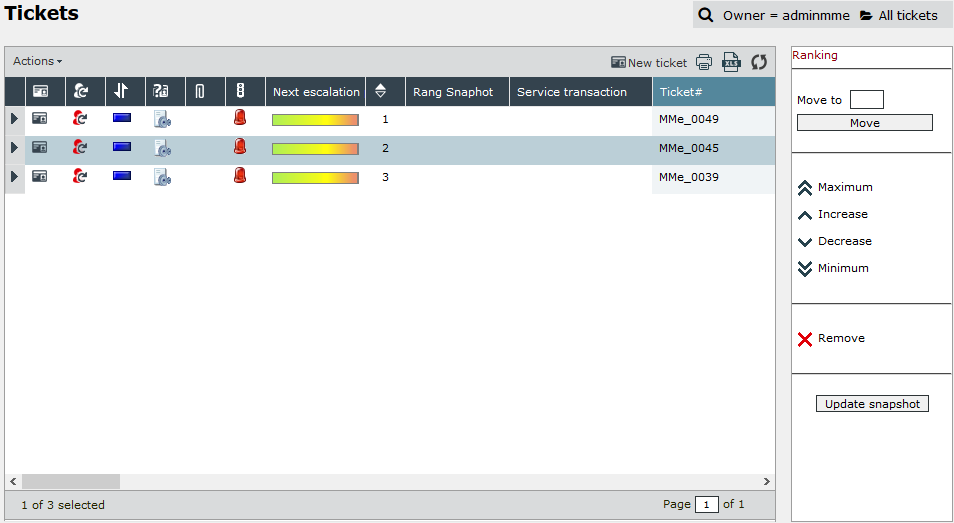
Using the buttons the ticket rank can be increased, decreased or be set to the lowest or highest position in the list by choosing Minimum or Maximum.
The option Move to allows for inserting the ticket rank directly. For all of these actions a ticket needs to be selected in the ticket list.
The button Remove reverts the Mark ticket for ranking action. Thus, the ticket will not be displayed in the ticket list anymore.
If all tickets are marked for ranking and ranking has been effected, the button Update snapshot allows for publishing this ranking for other users.


 Copyright (c) 2000-2026 Isonet AG