CI Actions
This chapter details the configuration and application of the CI actions. After adding a CI action for the respective CI schema on the Actions tab, the respective configuration dialog will appear.
On the CI statuses tab, it is possible to define, in which status of a CI this action is to be visible and executable. The action will then be displayed in the CI detail dialog on the Actions tab or can be accessed in the respective tab or via the Actions menu.
In doing so, the status(es) during which the action is to be have to be specified under Status. Additionally, the button Add user has to be used in order to add the user(s) or the group that can execute this action. If the action is to be available for the same users during other statuses, a new status can be defined in the configuration dialog and then the previous status can be selected in the field Take over from. A click on OK will apply the configuration to the new status.
In using the Add user button, the following options are available:
- Owner of the CI: Members of the group set as the owner of the CI can execute the action as soon as the previously defined status has been reached.
- Creator of the CI: The user having created the CI or having been set as creator of the CI can execute the action.
- Affected user of the CI: The user or all members of the group set as affected in the CI can execute the action.
- Select user: A specific user or group can be selected via the user browser.
If a user or a group is to be added to all configured statuses, the option Apply to all statuses can be used. However, this option only applies to already configured statuses. If another status is edited after using this option, the user or group will not be added automatically there.
If a detailed configuration of an action is necessary, various configuration options can be found on the Configuration tab. These options will be explained individually in the following sections.
Actions:
This action allows for adding comments to a CI.
Configuration
This action does not have to be configured separately.
Executing the Action
The Comments tab provides the button New comment. Via this button, a comment can be entered just like in a ticket.
Users and groups linked to the CI as affected users or groups can be changed via this action.
Configuration
This action does not have to be configured separately.
Executing the Action
If this action is available for a CI, additional affected users or even groups can be added on the Affected users tab.
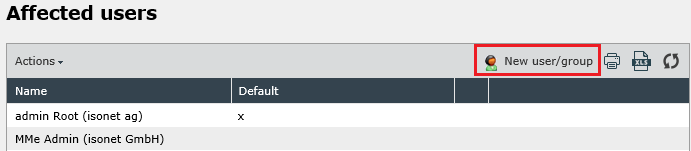
The button New user/group opens a new dialog window, in which uses and groups can be added. The Actions menu allows for removing affected users or groups or for setting them as the new default values for affected users. Each user and each group not set as the default will only be another affected user/affected group.
This action allows you to change the geographical position.
Configuration
This action does not require a separate configuration.
Executing the Action
The Change geographical position button is available on the Actions tab. With this button it is possible to enter the latitude and longitude again.
Via this action, the owner of a CI can be changed after wards.
Configuration
This action does not have to be configured separately.
Executing the Action
The action is executed as soon as the option Change owner is selected under Actions in the top menu.
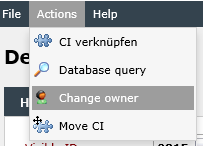
In the subsequently opening dialog, the group to become the new owner of the CI can be selected. As soon as the dialog has been confirmed via a click on OK, the selected group is set as the new owner.
The current status of a CI can be changed with this action, irrespective of the workflow.
Configuration
This action does not have to be configured separately.
Executing the Action
The action Change status can be found under Actions in the top menu of the opened CI.
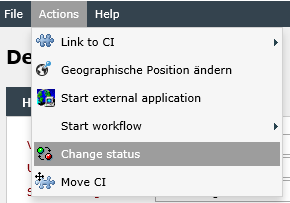
In the subsequently opening dialog, a new status can be entered for the respective CI, depending on the life cycles.
The user specified as the supplier of a CI can be changed via this action after wards.
Configuration
This action does not have to be configured separately.
Executing the Action
After clicking on Actions in the top menu of the opened CI and selecting the action Change supplier, a new dialog will open, in which the user to become the supplier of the CI can be selected.
This action allows for changing an existing CI type.
Configuration
This action does not have to be configured separately.
Executing the Action
The action can be executed in the same way as the action Change visible ID. On the Details tab, click on the check mark behind the CI type and select a new type for the CI. Clicking on the check mark a second time applies the change. Alternatively, the change can be discarded via a click on the cross icon.
Note:
The type of the CI can only be changed, if the following condition has been fulfilled: There has to be a main type with multiple sub-types in the CMDB configuration stage. Only the main type has a CI schema. If there is a CI with this schema, the type can be changed to the sub-types and back to the main type again.
The displayed name of a CI (e.g. Workstation 23) can be changed after wards via this action.
Configuration
This action does not have to be configured separately.
Executing the Action
When a CI, in which the current user can execute this action, is opened, a checkmark icon will appear behind the current visible ID on the Details tab of the CI.
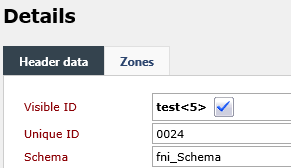
After a click on this icon, the field will change into a text field and the name can be edited. After a second click on the icon, all changes will be applied. Clicking the x icon discards all changes.
Via this action, a database query can be executed from a CI. In order to display the data, a separate pop-up window will open, which will show the data in read-only mode. Thus, additional information on the CI, which can be gained from other data sources, can be displayed.
Configuration
Connection String: The connection string to the data source is to be specified here. Potential connection strings can be found on the following website: connectionstrings.com.
Query: The actual SQL query is defined here.
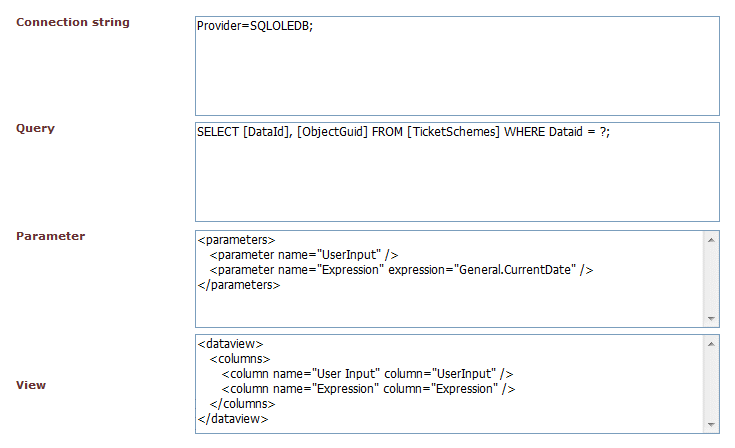
View: The option View defines, whether and in which order the queried data is to be displayed.
Example:
<dataview>
<columns>
<column name="DataId" column="DataId" />
<column name="ObjectGuid" column="ObjectGuid" />
</columns>
</dataview>
For every column to be displayed in the result, a column definition (column) has to be specified here. The attribute name determines the column header to be displayed here. The attribute column links the view to the query. Thus, only titles contained in the query’s result can be used here.
Executing the Action
The configured action can be found in the top menu under Actions in the configuration item.
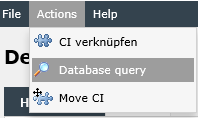
After this menu item is selected, a new dialog window with the query’s result will open (read-only).

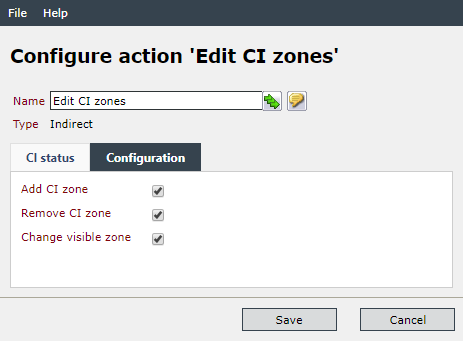
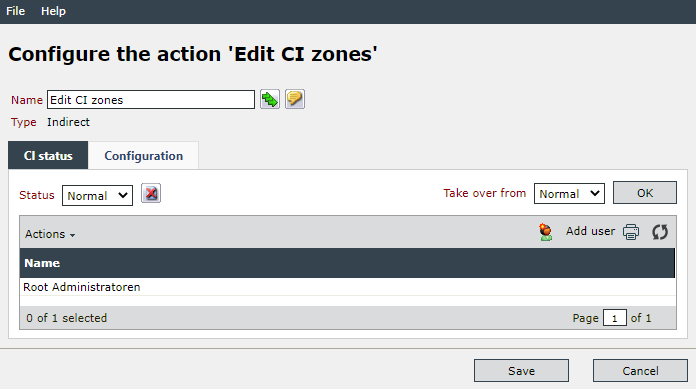
If an user has the permission to this action and all settings are set to true, then he is able to add and remove CI zones and to change the visible zone of the CI.
Configuration
The action configuration includes three settings:
- Add CI zone
- Remove CI zone
- Change visible zone
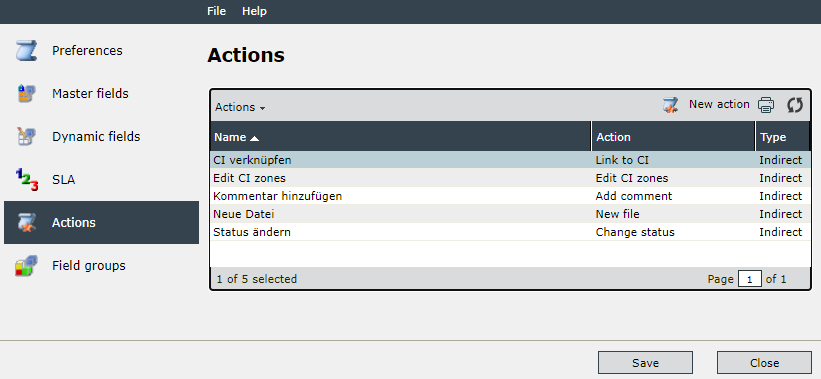
Via this action, CIs can be interlinked using the available CI relation types. It is possible for a CI to contain another one (e.g. a computer can contain software or hard disks, which have been recorded in the CMDB as individual CIs), or for multiple CIs to be linked with each other (thus, a CI Computer can be linked to a CI Monitor). Furthermore, CIs can be copies of another CI or a variant thereof as well (e.g. in case of software).
==> If a CI is to be created in the tree view via the context menu (right click on a CI > Create new CI), this actions has to be available to the user, because the new CI will be immediately linked with the clicked one. This action is necessary for linking CIs via drag and drop as well.
CI status
Affected users and groups as well as the associated status can be set here.
Configuration
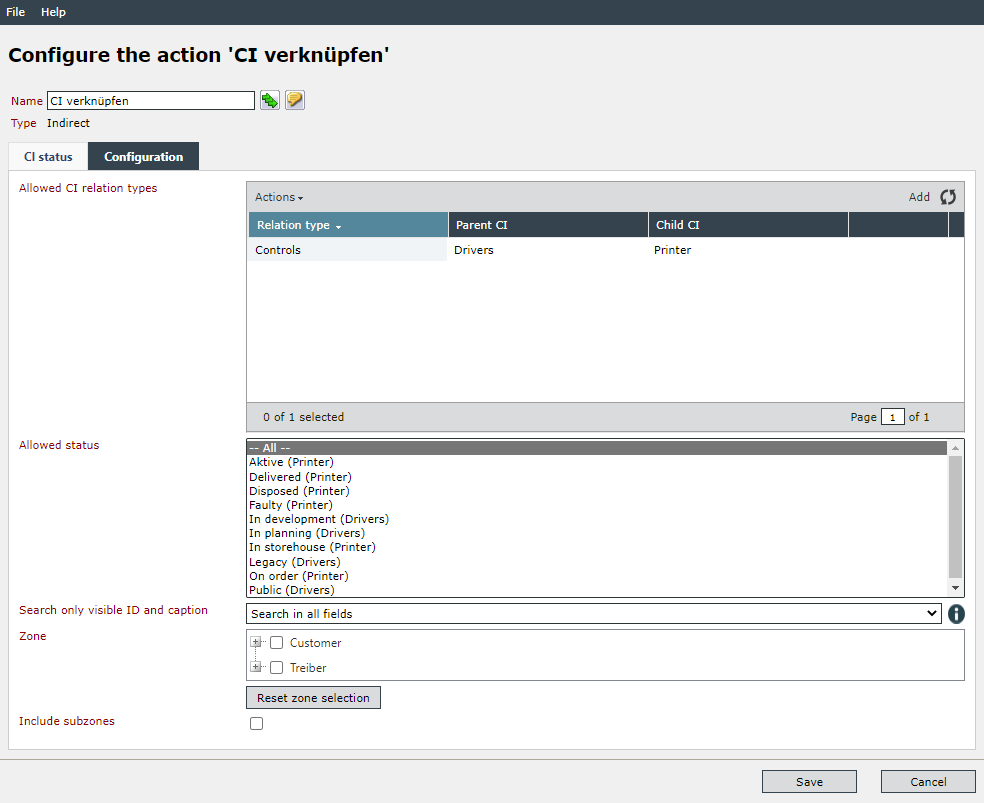
Allowed CI relation types: The CI relationship types can be restricted according to the available criteria (default: Contains, Is a component of, Connected). Multiple selection is possible.
Search only visible ID and caption: This can be used to restrict the search for possible CIs to the following components:
- Search in all fields
- Search only caption
- Search only visible ID
- Search only visible ID and caption
Allowed CI schemas: A restriction can be made by the appropriate selection of allowed schemas (multiple selection possible).
Allowed status: A restriction can be made by the appropriate selection of allowed statuses (multiple selection possible).
Zone: Specification of a zone (multiple selection possible) to restrict the selection.
Reset zone selection: The selection of all zones is deleted.
Inclusive subzones: If this option is activated, the search is also performed in the subzones.
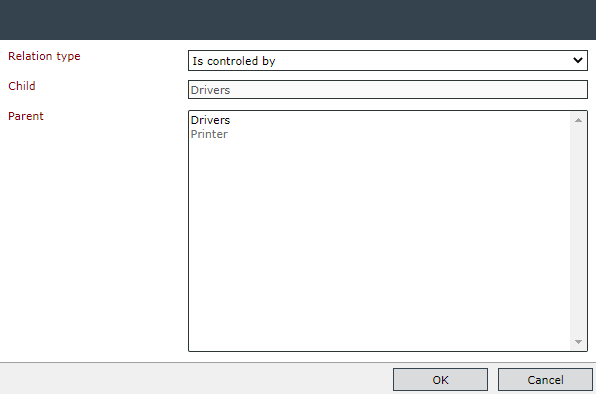
Via Add in the Allowed CI relation types table, you define a new custom relationship between child and parent CIs.
Via this action, file attachments can be added to a CI and deleted again as well.
For information on restricting file types, see FileUploadFilter.
Configuration
This action does not have to be configured separately.
Executing the Action
On the Attachments tab, the button New file is now available. Uploading files works in the same way as for tickets, for example. Files not needed any more can be deleted via the Actions menu.
This action can start an external application either through a Java Applet or Visual Basic Script. For example, a remote desktop connection to a predefined IP address can be established. In the process, the IP address can be read out from a CI field dynamically via expression.
Configuration
In order to configure the action, the following information has to be entered:
Loader type: As a loader type, either Java Applet or Visual Basic Script can be selected. For security purposes, ActiveX may not be allowed within the network. For this reason, it is possible to switch the loader to Java.
Command: The default setting is the Windows remote desktop connection. If the command is to be customized, enter mstsc /? into the Windows command prompt to display further options.
In the command prompt window, the following command for a RDP connection is filled in by default:
Mstsc /v:{$CI.Fields!ip.Text$}
In place of the expression
{$CI.Fields!ip.Text$}
it is possible to enter
{$ CI.Fields["ip address"]$},
if the field name for the IP address is named ip address. Otherwise, each available expression can be used.
Left icon: Via a click on the button Choose menu icon, the icon to be displayed in the menu can be set.
Executing the Action
By selecting the option Start external application under Actions in the top menu of the CI dialog, the command entered during the configuration is executed.
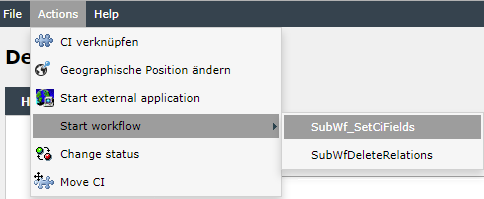
This action allows you to start a selected workflow.
Configuration
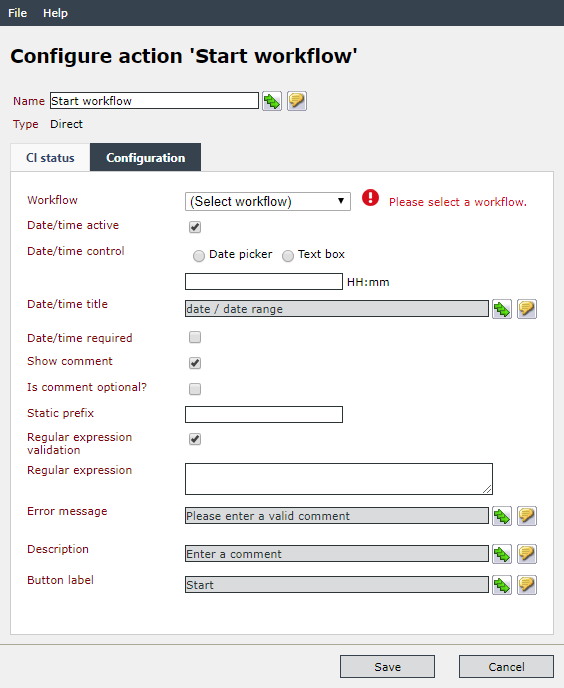
Workflow: A configured workflow that is to be started must be selected.
Date/time activ: This option activates additional date functions.
Date/time control: You can choose between using the DatePicker and a TextBox.
Date/time title: A title for the date function can be entered.
Date/time required: Optionally, the necessity of entering the date can be set.
Show comment: If the comment function is activated, the next entries are possible.
Is comment optional?: If this option is activated, entering a comment is optional. Otherwise an appropriate entry must be made (default: Not activated).
Static prefix: The static prefix specified here is automatically written to the log before the comment.
Regular expression validation: If this checkbox is activated, the options for the regular expression appear. This expression checks whether a valid comment has been entered.
Regular expression: Enter a regular expression for validation.
Error message: Display text for incorrect validation.
Description: This is the description text for the comment to be entered.
Button label: The label for the button to perform the action.
Executing the Action
The Start workflow button is available in the Actions tab. With this button it is possible to start a relevant workflow.


 Copyright (c) 2000-2026 Isonet AG