Articles
There are three options for creating a new Knowledge Base article:
- Creating a new article directly in the Knowledge Base,
- Creating a revision of an already existing article
-
Generating an article from a ticket
Creating Articles Manually
A new article can be created by clicking on the Knowledge Management button at the bottom of the display and then clicking on the New article button in the top right corner of the display on the next page.
A wizard is opened, in which the desired template can be selected. Subsequently, another dialog for further settings will appear. Via the Save button, the article can be saved. If the dialog is closed before saving, all changes will be rejected and no article will be created.
Requirements for creating new articles
For new articles to be created, the following requirements must be met:
-
A user must have permission to create articles.
-
At least one category must be created and visible for the user.
-
In each Knowledge schema that is used to create articles manually, the action Edit article must be configured for the creator in the status Draft.
Creating Articles via a Revision
A new revision of an article can be created by opening an existing article and selecting the option Create new revision in the File menu. Subsequently, a dialog for editing the new revision will open. Revisions can be edited in the same way as new KB articles are created and edited .
The created revision will be saved as a draft on the Revisions tab. Subsequently, it can be forwarded for verification or published - just like a "normal" KB article.
When a new revision of an article is published, all previous revisions will be archived, but only, if these revisions have been published. Unpublished revisions will be not archived and keep their current status.
The creation of a new revision is logged by the system in the original article the revision has been created from and in the history of the new revision.
Generating Articles from a Ticket
Another option is to generate a KB article from existing tickets. Thus, a ticket’s solution can be made available for other users.
In order to generate a KB article from a ticket, the ticket has to already contain a solution. Open the ticket and select the item Create KB article from ticket from the Actions menu.
Note:
The ticket action Create KB article from ticket has to be configured before being used. If the menu item does not appear, it is necessary to make sure that the ticket action has been activated in the respective status for the proper group of the user to execute the action, and that a working mapping has been created.
Within a workflow, it is also possible to automate the creation of KB articles using the Convert Ticket to KB plug-in.
Deleting an Article
If there is no further use for an article or parts of it, it can be deleted. An article can be deleted from the article list directly by selecting it and then clicking on Delete in the Actions menu. The second option is to open the article and to select the Delete option in the top menu under File.
There are several options for deleting only a certain revision of an article as well. Select the Search tab in the article list on the left. Subsequently, the option Include revisions can be activated and confirmed via a click on Search.
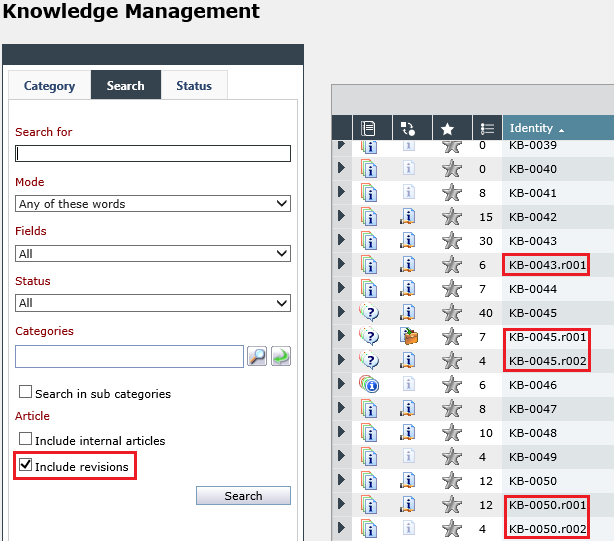
Now, the revisions of an article will be displayed on the article list as well. Thus, the respective revision can be deleted just like a normal article - either directly via the Actions menu or by opening the article revision and using the Delete option in the File menu.
Moreover, it is possible to open the KB article, then switch to the Revisions tab and open the desired revision via a double click there. For deleting it, the File menu can be used here as well.
All the other revisions of the article will not be affected.
If, however, the entire article is deleted, all its revisions will be deleted as well.
Links to articles in tickets will be removed upon deletion. Thus, if a particular revision is deleted, all links in tickets based on this revision will be deleted as well. If the entire article is deleted, all links to tickets will be removed.
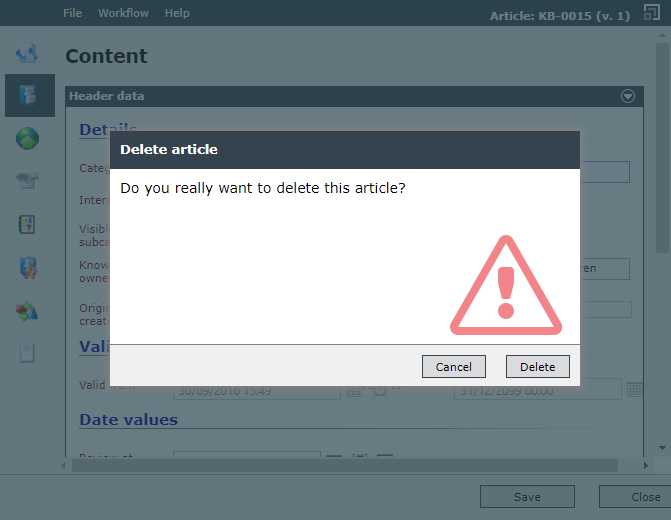
A confirmation field appears before deleting to prevent unintentional removal of the article.
Exporting Articles
There are two different options for exporting articles:
- Exporting individual articles
For exporting an individual article, the button Export article can be found in the menu bar of the article under File. After a click on it, a ZIP file will be created containing all attachments and the article as an HTML file.
- Exporting entire article categories
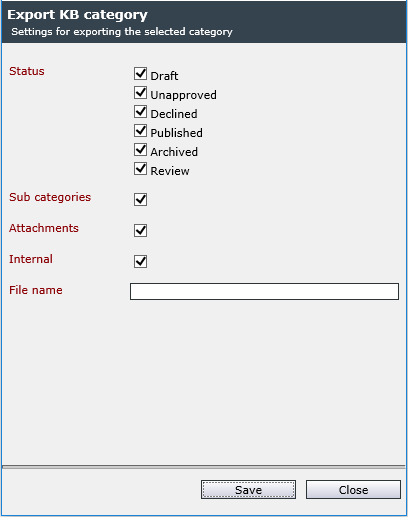
In order to export an entire article category, simply right click on the desired category and select Export category. In the following dialog, the status and the subcategories to be exported as well can be selected. Moreover, it is also possible to export associated attachments and internal articles. The desired name for the download able file can be entered below. If all specifications have been completed, click on Save and a Zip file containing all of the desired articles will be created. The download will start automatically after wards.


 Copyright (c) 2000-2026 Isonet AG