New Form
A new form can be created by selecting Create new form in the toolbar. A dialog, in which the name for the form is to be entered, opens subsequently.
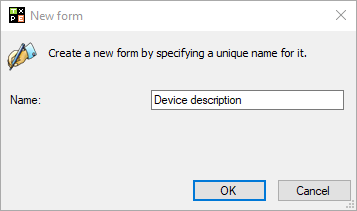
After confirming this dialog with OK, the form is generated and fields can be added.
Add Fields
As soon as a new form has been created or an existing form has been selected from the drop-down list, additional buttons and configuration items necessary for editing the form are displayed, e.g. the buttons for the fields:
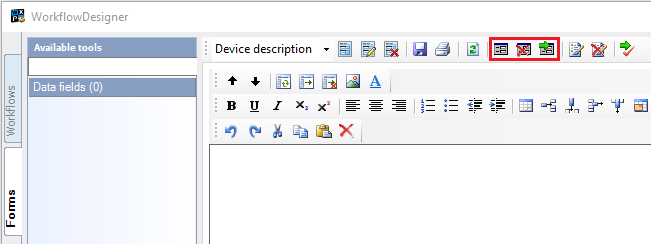
These buttons are used for adding, importing, and deleting form fields. When creating a new field, a dialog opens, in which the individual field settings can be configured.
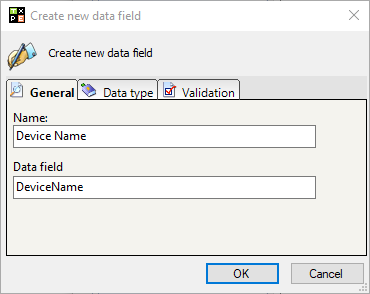
First, a Name for the field has to be entered. As a Data field, a label this field is to get within the workflow has to be entered. Via this label, the field and its content can be accessed within the workflow later on. It is important to make sure that the name of the data field is unique.
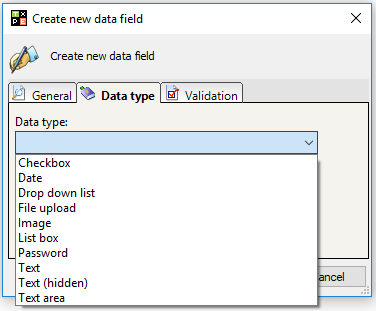
On the second tab, the desired Data type can now be selected.
On the third tab, validation options, like an expression, can be specified in order to prevent the user from entering invalid content later on.
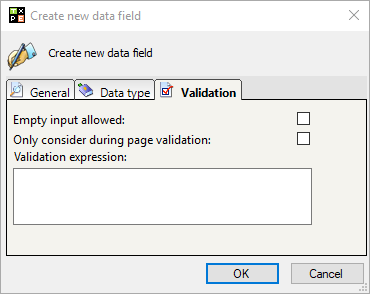
The option Empty Input allowed allows for leaving the field empty later on. Additionally, a regular expression (RegEx) can be entered into the Validation expression field. This expression is used to check the form entries upon confirmation.
After the dialog is confirmed by clicking on OK, the field will be created and will now be available for the form.
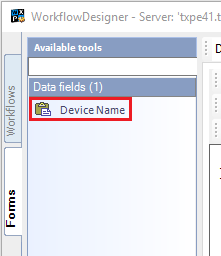
As soon as all necessary fields have been created, these fields can be integrated into the form. The data fields can be simply dragged from the Data fields list and dropped into the design area.
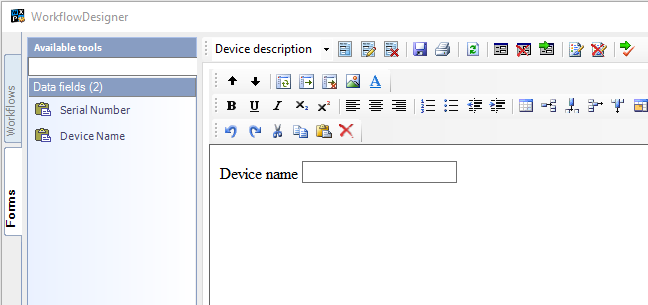
The cursor can be moved using the mouse or the arrow keys, e.g. in order to write a description in front of the field. All necessary fields are added to the form in the same way.
Finally, a button for Next has to be added.
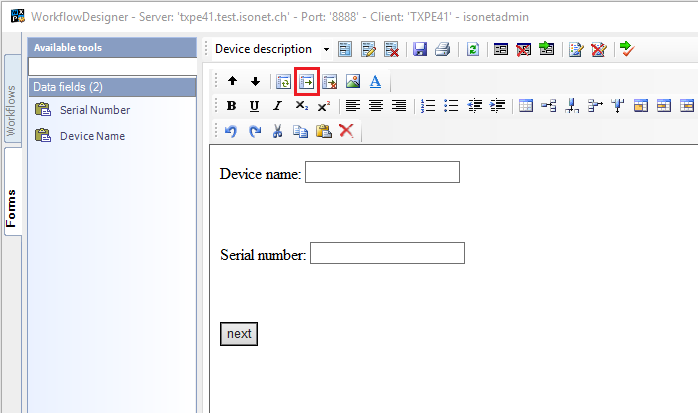
After having added all fields and buttons, the form has to be saved.


 Copyright (c) 2000-2026 Isonet AG